9 Essentials in Every Beginner Crafter's Weaving Toolbox

Are you new to the weaving world? Want to know what you must have in order to get started? Which tools you’ll need to attempt your first project? Don’t worry - we’ve got you covered!
The beauty of yarn crafting is that it doesn’t take much to make something special. Sure, there are oodles of tools and accessories that weavers use for various techniques or to make the craft easier, more elaborate or more fun, but if you’re testing the waters or just beginning your weaving journey, you don’t necessarily need to invest much.
Here is our list of the nine items needed for your toolbox that will make sure your first project isn’t your last!
-
Loom: The tool that separates weaving from other yarn crafts is the loom. This structure provides the tension on the warp strings that act as a canvas for your woven creation. While there are almost infinite options and styles of looms, a small, very basic loom will allow you to fashion beautiful projects. Most beginners use a frame or “lap loom,” but if you don’t know if you’re ready to make that investment yet, you can use an old picture frame or even cardboard as your support structure!
- Warp Thread: You can experiment with different types of yarn or string for the warp threads on your loom, but you’ll need something to wind around your frame. Different colors and thicknesses of warp threads will give different looks to your finished pieces. Keep in mind that these threads need to be pulled taut, so you will want something that can handle and maintain that tension. A good choice is a cotton that is going to be soft yet strong.
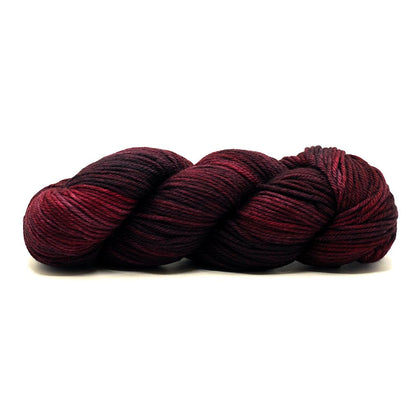
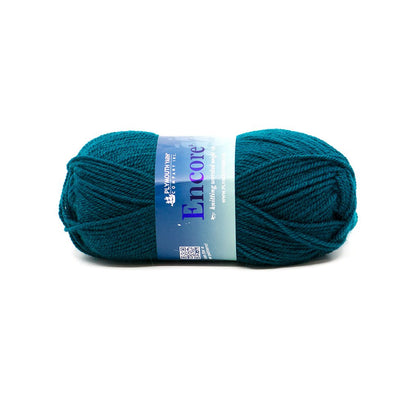
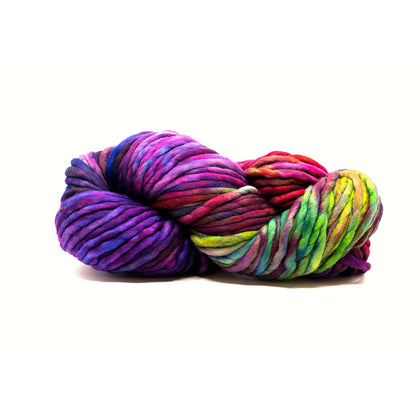
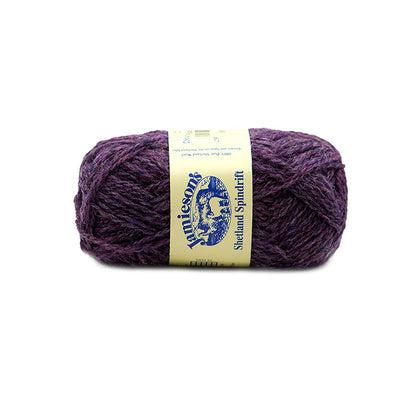
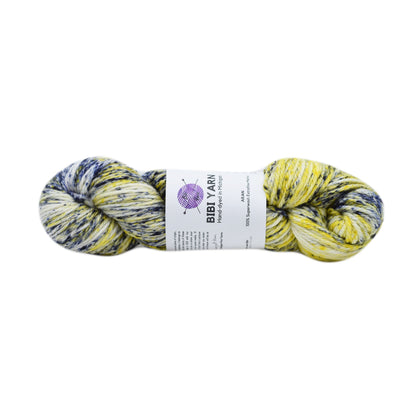
- Yarn: Similar to knitting and crochet, a key element to weaving is the yarn used in the design. In this craft, these fibers are called weft threads. What makes woven projects magical, however, is the unique combinations of fibers - different weights, different yarn constructions, different animal/plant/synthetic fibers, etc. - that can go into one finished piece. For a decorative wall hanging for example, there really aren’t any wrong choices; it just depends on the look you’re going for! For a placemat or rug, you may want to be more selective and use harder-wearing fibers. We have articles on fibers and yarn weights if you want to learn more or get inspired!
- Shuttle: You could use your fingers or a tapestry needle, but a shuttle is a long, flat stick with notches at both ends that holds the weft yarn and makes it easy to slip through the warp threads. This special tool will carry the yarn and make the process much more efficient and smooth.
- Scissors: An often underappreciated tool, a good pair of scissors should be part of your toolbox. It doesn’t have to be anything fancy or specialized, but sharp blades and a fine point will be useful as you work through your project and need to trim weft yarn. Chances are you already have some that will work just fine! While not absolute necessities, the last four items are strongly suggested!
- Tapestry Needle: Larger than a sewing needle, tapestry needles are thicker, blunt needles with eyes big enough to thread yarn through. As noted above, this can be used to move the weft through the warp threads, especially for smaller or more intricate sections of your weaving. It will also be useful to tuck in the ends of the weft yarns as you finish their areas.
- Shed Stick: A shed stick is a smooth edged tool that can be woven between warp threads and turned on its side to provide space for the shuttle and weft to be pulled through. A shed stick can also act as a foundation to ensure your weaving is straight and level across the piece.
- Weaving Comb: A weaving comb is a toothed device that you use to push the weft threads down to remove any gaps and create a nice tight, even fabric. The teeth move around the warp threads and press down on the weft only. While a weaving-specific comb is nice, a dining fork or hair comb will work well too! (You may also see these combs called a beater which is fun!)
- Ruler or Measuring Tape: Whether you are setting up your loom or determining how large a section of your design is, you’ll need to have some sort of measuring device. A soft tape can be more versatile, but a solid, stable ruler is more reliable. If you’ve already got one or the other in the house, grab that! If not, we recommend an inexpensive 12 inch ruler to get you started. Clear plastic would be a bonus since you could see your project through it!
There you have it! With a minimal investment and a few items you probably already have, you can be ready to tackle your first weaving project!
We would love to hear how you got started with weaving in the comments below. Any tips or suggestions for a beginner’s toolbox would be great as well!


