 Skip to Content
Go to Accessibility Statement
Skip to Content
Go to Accessibility Statement


Icord Edge Tutorial

An icord creates a very neat and tidy edge for shawls, collars, sleeves, etc. It is not very elastic, so you’re going to want to use an icord for fixed lengths or wide collars where you don’t need much extra give. The process itself is extremely simple and can be easily adjusted for multiple colors or thicker/thinner cords. This is another tool that every knitter should know, and beginners should not avoid. If you can knit and slip stitches, you can create an icord!
Techniques Used
CO - cast on (we used the long tail method)
K - knit
Slip - slip stitch purlwise
WYIF - with yarn in front
Instructions
- Cast on using your preferred method or as instructed.
- Row 1 (right side) - Knit or follow pattern instructions to the last three stitches. Slip these three stitches purlwise with yarn in front.
- Row 2 (wrong side) - Knit the first three stitches and then knit or follow your pattern instructions to the last three stitches. Slip these three stitches purlwise with yarn in front.
- Repeat Rows 1 and 2 to desired length.
STEP BY STEP GUIDE TO THE ICORD EDGE
This tutorial is using stripes and starting a few rows in to better show how to carry yarn up the side of the work. The general process is the same with one color and from the very start of a project, though!


Tips for the Icord Edge
- One side or two. For this tutorial, the pattern we chose uses an icord edge on both sides. Some designers will use an icord on just one edge, depending on the look or structure they want to achieve.
- Fewer ends to weave! Carrying yarn inside an icord is such a tidy way to move yarn from one stripe or section to the next. It also works for the first yarn tail when you add a new color - just bring the tail up too!
- Twist. Don’t Shout! While the process of an icord is very simple, if you are carrying yarn inside the cord, it can be easy to miss twisting the yarn to catch the carried strand(s). Take your time or try a progress keeper on your work to remind you when you get to that side!
- Release the tension. An icord is essentially curling the edge of the fabric in and securing it into a tube. Don’t let yourself pull these stitches too tightly or there can be puckering along the edge. To keep your tension even with the rest of your fabric, gently stretch the edge every few rows to even out the stitches.
- Cord thickness. There is no rule that says you have to make an icord using three stitches. Use the same process with two, three, four, five or more stitches! At some point you will basically just be knitting in the round, so you’ll typically see icords in the three to five stitch range.

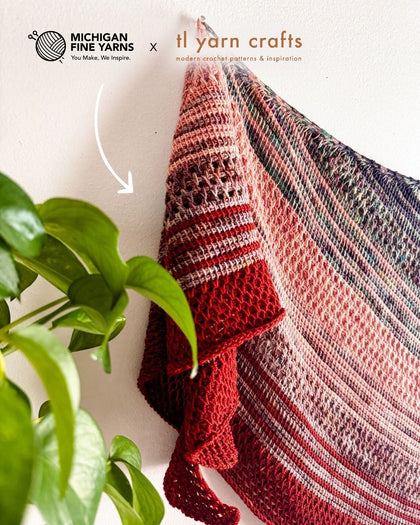
If you’re looking for a pattern to try out this stitch, we recently shared the Botanic Shawl and it is a pattern suitable for all skill levels and employs this technique. If that doesn’t grab you, there are a number of patterns that use this edge technique, or be bold and modify a pattern that may not have this written in!
0 Comments
EMAIL LIST
Join Our Newsletter
Sign up for sale alerts, special offers, and more!

By clicking the ‘Subscribe’ button you acknowledge reading and accepting our Privacy and Cookies policy.
OTHER ARTICLES
-
 MFY+ is our YouTube channel that we consider an extension of our shop where you can find tools, inspiration and - of course - a few shenanigans! Our videos are grouped into playlists on YouTube if you want to watch through videos related to a broader topic or are just starting out and don't know what you don't know! This list is meant...
 -
 It is probably not shocking that the rise of Artificial Intelligence (AI) has created a stir in the technology world - especially in recent years. What may be more surprising, however, is that our very own fiber industry is running into challenges with AI too! Take a moment and think back to how long it took you to create your last project. A weekend...
 -
 Helix or helical stitching creates interlocking spirals of single-row stripes with no perceptible beginning and no jogs between stripes. The helix can be created with two or more colors and requires no twisting to keep the yarns connected and stitches even. Beyond beautiful, seamless stripes, this method of stitching is also a neat and tidy way to alternate skeins of hand-dyed yarn. The...


