 Skip to Content
Go to Accessibility Statement
Skip to Content
Go to Accessibility Statement


Chainless Double Crochet Tutorial

Traditionally, when working flat in crochet each row begins with a chain stitch or set of chain stitches. This provides the necessary height and flexibility to move up and continue the next row. For double crochet and “taller” stitches, it also creates a noticeable hole in the fabric. There are different ways to address this, but this particular chainless double crochet method does a good job of eliminating the gap and blending in with normal double crochet stitches. You can see the difference indicated in the photo below.

Instructions
- Complete your starting chain and first row as directed in your pattern. (We have worked a few more to show the difference between starting chains and the chainless stitch.)
- After completing the first row, turn the work.
- Pull the loop on the hook up to the height of your double crochet or just a tiny bit shorter.
- Using your index finger, keep the loop secured against the hook.
- Moving the hook from the front to the back, wrap the loop around the hook so there are two “loops” on the hook.
- Keeping your finger tight against the hook, go into the first stitch of the previous row.
- Yarn over and pull up a loop (three loops total).
- Complete the double crochet by pulling the yarn through two loops, yarn over and pulling through the final two loops, releasing your finger only at the very end.
STEP BY STEP GUIDE TO THE CHAINLESS DOUBLE CROCHET


Tips for the Chainless Double Crochet Stitch
- Worth the time. Whether you are a new crocheter or have decades of experience, this particular technique can be a bit fiddly. Be patient and remember - it’s only one stitch per row! We believe you’ll be pleased with the tidier edges on your projects and appreciate the few extra minutes you spent.
- Translatable skill. This particular method for a chainless starting stitch works well for double crochet and taller stitches. Use the same process of holding the elongated stitch and wrapping it around the hook before completing your stitch as usual. It won’t be quite as effective for single or half double stitches.
- A proper turn. It may take a few - or in our case a number of - tries to get the hang of this technique. Working back and trying again isn’t difficult, but always make sure your hook is in the proper starting position. When you take the stitch back, turn the work to the previous side, insert your hook and make sure the working yarn (what moves when you pull on the yarn) is in front of the hook. Then, turn the work and try your chainless double crochet again.

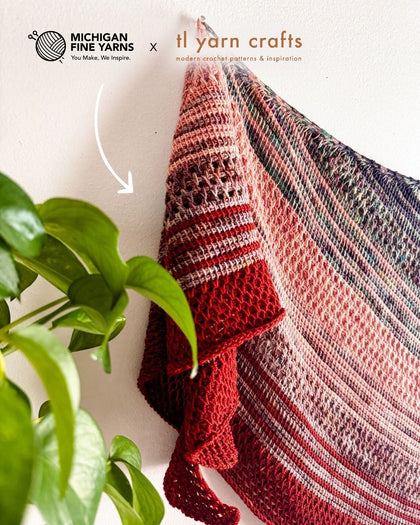
If you’re looking for a pattern to try out this stitch, we shared the Falling Blossoms Shawl and it uses a chainless beginning double crochet. While this particular pattern has intentional eyelets, learning a chainless stitch method will help prevent uninvited eyelets along the edges of your shawl! We’d love to hear if you try this out or if you have other suggestions for creating neater edges when turning your crochet work! Share your thoughts in the comments below.
0 Comments
EMAIL LIST
Join Our Newsletter
Sign up for sale alerts, special offers, and more!

By clicking the ‘Subscribe’ button you acknowledge reading and accepting our Privacy and Cookies policy.
OTHER ARTICLES
-
 MFY+ is our YouTube channel that we consider an extension of our shop where you can find tools, inspiration and - of course - a few shenanigans! Our videos are grouped into playlists on YouTube if you want to watch through videos related to a broader topic or are just starting out and don't know what you don't know! This list is meant...
 -
 It is probably not shocking that the rise of Artificial Intelligence (AI) has created a stir in the technology world - especially in recent years. What may be more surprising, however, is that our very own fiber industry is running into challenges with AI too! Take a moment and think back to how long it took you to create your last project. A weekend...
 -
 Helix or helical stitching creates interlocking spirals of single-row stripes with no perceptible beginning and no jogs between stripes. The helix can be created with two or more colors and requires no twisting to keep the yarns connected and stitches even. Beyond beautiful, seamless stripes, this method of stitching is also a neat and tidy way to alternate skeins of hand-dyed yarn. The...


