 Skip to Content
Go to Accessibility Statement
Skip to Content
Go to Accessibility Statement


Three-Needle Bind Off Tutorial

The three-needle bind off is a method for joining two pieces of knitting that have active stitches on the needles. Unlike the Kitchener Stitch that grafts the two pieces together by weaving another row of stitches, the three-needle bind off creates an actual seam at the join. This adds more stability and structure to your work which is great for places like sweater shoulders where the seam handles a lot of weight.
This method does require an extra needle and may seem intimidating at first, but it is truly a beginner-friendly process! Added bonus? You’re binding off and seaming in one step!
Instructions
- Confirm your knitting is set up properly with the right sides of the fabric together (wrong sides facing out) and there are an equal number of stitches on each needle.
- Hold your needles parallel with the working yarn (if still attached) at the right.
- Insert the third needle (double points work well for this!) into the first stitch on both needles knitwise.
- Knit the two stitches together. You now have one stitch on the third needle.
- Insert the third needle into the next stitch on each needle.
- Knit these stitches together so you have two stitches on the third needle.
- Lift the first stitch on the third needle up and over the stitch you just created, as you would in a traditional bind off.
- Continue to knit stitches together and bind them off the third needle until one stitch remains.
- Cut the working yarn and pull it through the final stitch to secure it and weave in your end.
STEP BY STEP INSTRUCTIONS FOR THE THREE-NEEDLE BIND OFF
The swatch used for this tutorial is designed to mimic a shoulder seam with bound off stitches for a neckline and an armhole at the side.


Tips for the Three-Needle Bind Off
- Visible seam. Typically, the three-needle bind off seam is hidden on the wrong side. Try working the seam so it is visible on the right side for a modern, decorative element!
- Proper preparation! Completing the actual three-needle bind off does not require much more work than a traditional bind off. Where you want to spend a few extra minutes is ensuring your piece is properly prepared for the process. Triple check your fabric is the correct direction. Count those stitches one more time and make sure you have the same number on both needles. Take the time and save yourself from potential frustration and frogging!
- Missing a needle? If you don’t have a third needle in the size needed, move down a size or two for the live stitches. The third or right hand needle will dictate the size of the stitches for the bind off, and using smaller needles for the live stitches will avoid stretching either edge of the piece.

If you’re looking for a pattern to try out this stitch, we recently shared an overview of The Weekender by Andrea Mowry and it uses this technique at the shoulders. The sweater is a straightforward project doable for the adventurous beginner, but if it doesn’t suit you, there are a number of patterns that employ technique, or be bold and modify a pattern that may not have this written in!
0 Comments
EMAIL LIST
Join Our Newsletter
Sign up for sale alerts, special offers, and more!

By clicking the ‘Subscribe’ button you acknowledge reading and accepting our Privacy and Cookies policy.
OTHER ARTICLES
-
 MFY+ is our YouTube channel that we consider an extension of our shop where you can find tools, inspiration and - of course - a few shenanigans! Our videos are grouped into playlists on YouTube if you want to watch through videos related to a broader topic or are just starting out and don't know what you don't know! This list is meant...
 -
 It is probably not shocking that the rise of Artificial Intelligence (AI) has created a stir in the technology world - especially in recent years. What may be more surprising, however, is that our very own fiber industry is running into challenges with AI too! Take a moment and think back to how long it took you to create your last project. A weekend...
 -
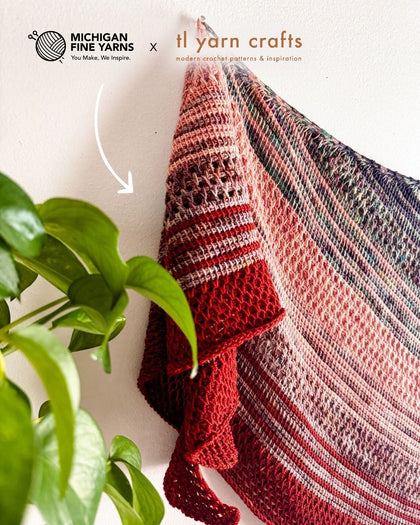
 Helix or helical stitching creates interlocking spirals of single-row stripes with no perceptible beginning and no jogs between stripes. The helix can be created with two or more colors and requires no twisting to keep the yarns connected and stitches even. Beyond beautiful, seamless stripes, this method of stitching is also a neat and tidy way to alternate skeins of hand-dyed yarn. The...


