 Skip to Content
Go to Accessibility Statement
Skip to Content
Go to Accessibility Statement


Natural Yarn Dyeing

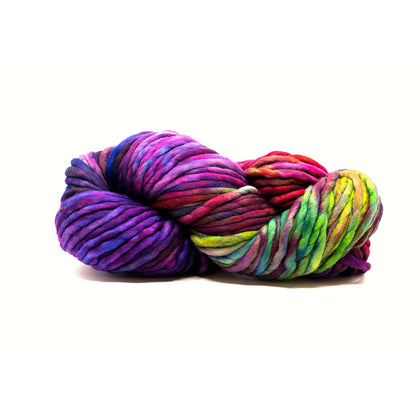
Yarn dyeing is an incredible art form for expressing creativity. No two skeins of handpainted yarn will be exactly the same, and the colors and combinations are limited only by your imagination. You may have a particular look in mind or you may just let yourself be led by your feelings and emotions that day. Either way, you’ll end up with unique skeins that share your particular style.
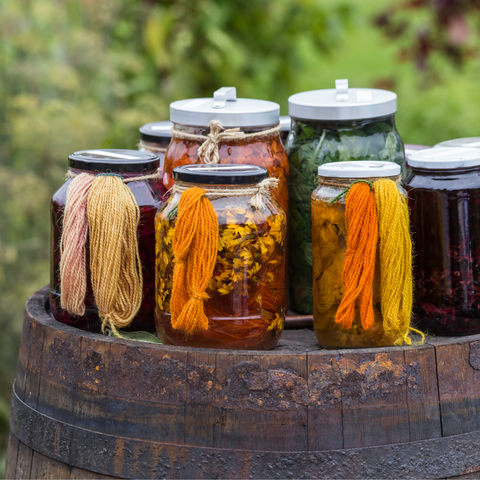
While chemical dyes have been developed to create rich, saturated colors in any number of shades, there is something grounding about taking natural materials, extracting pigments and using them to dye fiber.

There are entire books and websites devoted to this topic, and we don’t claim to know everything there is to know about natural dyeing. We do hope that this overview shares something you may not have known and maybe even encourages youto rummage through your kitchen or garden and give dyeing a try!
There are three broad topics to cover when talking about dyeing: the fiber, the dye and the process. Each is important for any type of dyeing, but when you’re creating your own dye from natural materials, it is even more critical to think through each piece. The more you learn, the better you can predict and work toward specific outcomes. Here is just a taste of the world of natural dyeing.

The Fiber
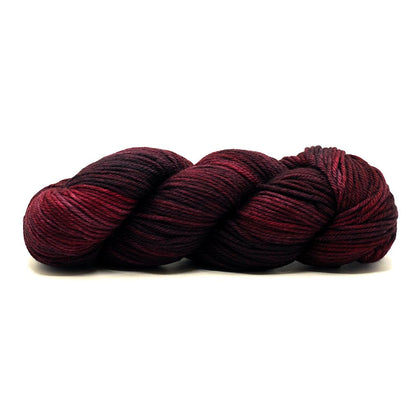
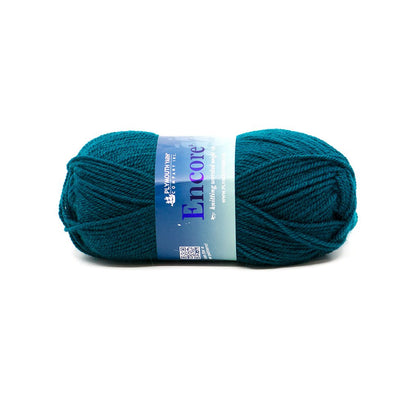
No matter the type of dye you are using, it is important to start with an understanding of the fiber you are using. Different fibers accept dyes differently. Mohair will accept color differently than a linen blend which will accept color differently from a merino wool. The natural color of the fibers will also affect your final product. Most dyers start with the lighter, whiter fibers, but you can create some lovely effects with a gray or tan base!

As a general rule, protein fibers like wools and silk will take color better than plant fibers such as cotton or linen. To encourage deeper colors and color fastness - you don’t want to create a beautiful shade of orange only to have it fade to peach with the first wash! - mordants are added to a pre-dye soak.
- Mordant: a substance used to adhere dyes to fibers in order to promote durable, long-lasting color
Each mordant or fixative will have its own properties and be better suited for certain circumstances. Common ingredients are alum, copper, iron, white vinegar, salt and cream of tartar. While it may seem like a step you could bypass in favor of quicker results, using the proper mordant to prepare your fiber will enhance your work and make sure it lasts!
The Dye
There is a reason that even commercially dyed yarns typically have dye lots listed on a yarn’s ball band - even the smallest change can yield a different result. Taking good notes while you work, even if you don’t end up liking the results, can help you attempt to recreate or avoid the same product in the future.

While extracting dye from natural materials, any number of factors can affect the outcome: heating temperature, length of time being heated, quantity/quality of material being used, pH level of the water used, etc. Then, another set of factors come into play when the fiber is actually placed in the dye bath. The temperature of the dye bath, the length of time in the dye bath, the number of times in the dye bath, the mordant(s) used, etc. all affect how the dye will look on the fiber itself.
Dye baths will get less vibrant after each use, but as pointed out in this article, you could start out dyeing yellows using marigolds (for example) and add iron to the same bath later on to create an olive green tone!
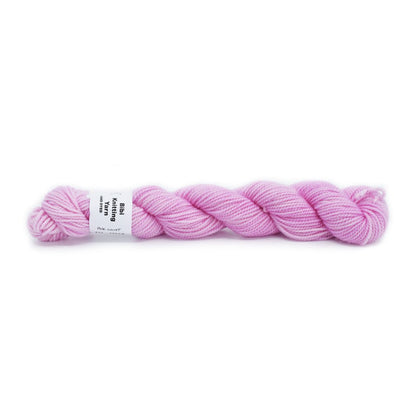
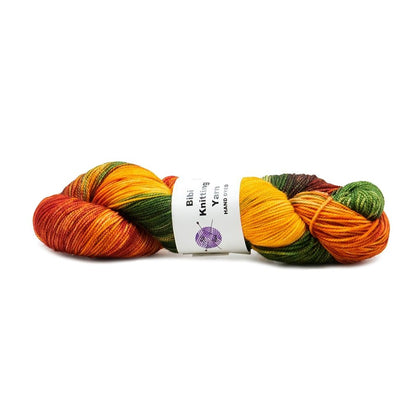
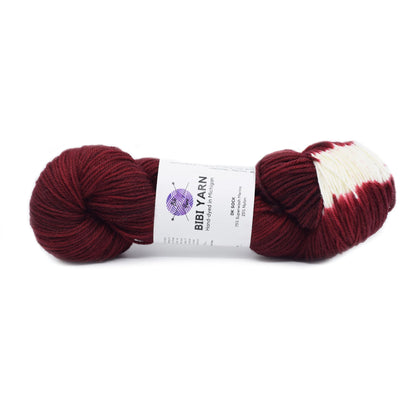
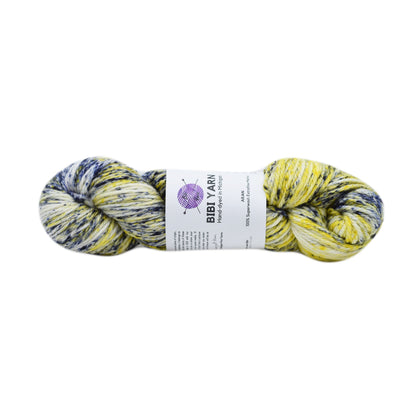
Here are just a few ideas of materials and the colors they produce to get your brain turning.
The mordant used may adjust the colors of the materials you choose. Using copper or iron for instance may darken your colors. Iron is also a good choice for greens, grays and blacks. White vinegar may brighten some yellows, but can also wash out other colors. Science is amazing, but can be finicky!

The Process
As you’ve no doubt gathered, dyeing yarn can be an intricate and labor intensive process, even if you aren’t making your own dyes! The following is an oversimplified walk through of the steps, but should pull everything together.
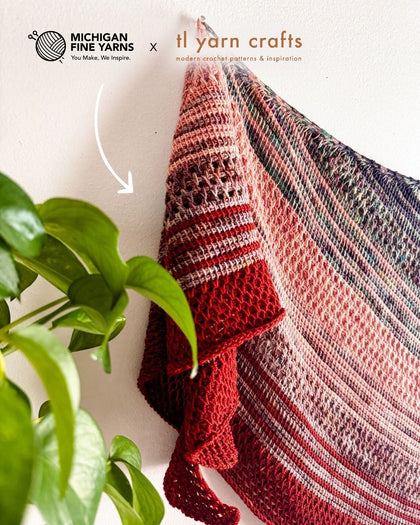
Mother Nature provides everything needed to take fiber from plant or animal to beautiful handmade garment, accessory, blanket, wall hanging or whatever creative project your heart desires. With a decent amount of patience, a dash of knowledge and a willingness to experiment, you can create rainbows of colors you’ll feel incredible wearing!

What do you think? Do you have a desire to dye your own yarn? Have you already tried it?! Share your stories in the comments below. We’d love to hear your thoughts and suggestions!
Resources
All Natural Dyeing
Martha Stewart Living
Seamwork
Botanical Colors
0 Comments
EMAIL LIST
Join Our Newsletter
Sign up for sale alerts, special offers, and more!

By clicking the ‘Subscribe’ button you acknowledge reading and accepting our Privacy and Cookies policy.
OTHER ARTICLES
-
 We are thrilled to be hosting a Lopi trunk show featuring Léttlopi, Álafosslopi and Fjallalopi yarns! Samples will be on display for you to see, squish and experience the beauty of Icelandic wool. Yarn and pattern information for the pieces we have are below. If you can't make it in to see us, online shopping is available 24/7 and we have lots of...
 -
 Taking place February 4-22, the XXV Winter Olympics will showcase elite-level athletics set against the backdrop of beautiful Italian mountain ranges. These two weeks will be an excellent opportunity for stitching while being inspired by the determination and incredible accomplishments playing out on our screens. Team MFY invites you to join us as we pursue excellence in our own field - the fiber...
 -
 As you plan your holiday shopping this season, we hope you’ll choose to support the small businesses that make our creative community so special! This year, we’re celebrating Small Business Saturday Weekend with 20% off select yarns and kits, available Friday, November 28 through Monday, December 1. A few brands you can expect to see pop up in the sale include Madelinetosh, Rowan,...


