Twisted Rib Stitch Tutorial

The twisted rib stitch creates a neat ribbing with smaller, tighter knit stitches that doesn’t contract as much as regular ribbing. The pattern is the same as the standard rib stitch and can be mastered with only a small change to your knitting motion. Twisted ribbing is great for those of us whose ribbing is a bit untidy, and also for when you want a clean modern texture. The only trick? Knowing which variation to use and when.
Traditional k1, p1 ribbing (or k2, p2, etc.) creates a stretchy, reversible fabric with accented columns of knit stitches and recessed columns of purl stitches in an alternating pattern. Twisted ribbing simply twists the base of the stitches, pulling them in tighter. To do this, you either knit or purl through the back loop of the stitch instead of the front.
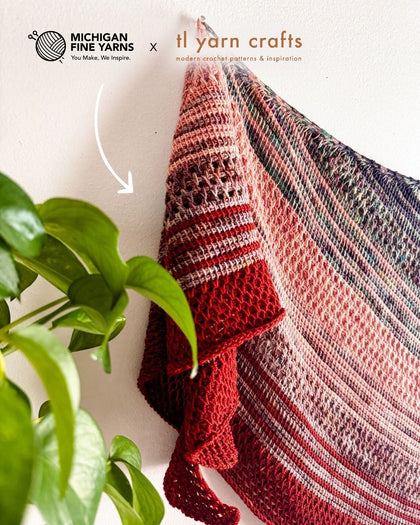
For a truly reversible twisted rib fabric, you’ll need to both knit through the back loop and purl through the back loop on every row or round. Some patterns - such as the Temperance Shawl by Malabrigo - call for what we’ll refer to as a half twist. When working flat, you knit through the back loop and the purl through the front as normal on the right side. The wrong side is then knit through the front as normal and purl through the back loop. This creates columns of twisted stitches and columns of untwisted stitches which give the fabric a different look on each side. You can accomplish this half twist pattern in the round as well, but you simply repeat the right side row.
If that sounds confusing, don’t worry! Let’s walk through these step-by-step.
Techniques Used
- CO - cast on (we used the long tail method)
- K - knit
- Ktbl - knit through the back loop
- P - purl
- Ptbl - purl through the back loop
- BO - bind off (we bound off in pattern)
Instructions for Full Twist (working flat)
- Cast on an even number of stitches.
- Row 1 (right side) - *KTBL. PTBL.* Repeat to the end of the row.
- Row 2 (wrong side) - *KTBL. PTBL.* Repeat to the end of the row.
- Repeat Rows 1 and 2 to desired length.
- Bind off in pattern. (Knit the knit stitches and purl the purl stitches as you bind off.)
*For knitting in the round, repeat Row 1 to desired length.
Instructions for Half Twist (working flat)
- Cast on an even number of stitches.
- Row 1 (right side) - *KTBL. P1.* Repeat to the end of the row.
- Row 2 (wrong side) - *K1. PTBL.* Repeat to the end of the row.
- Repeat Rows 1 and 2 to desired length.
- Bind off in pattern. (Knit the knit stitches and purl the purl stitches as you bind off.)
*For knitting in the round, repeat Row 1 to desired length.
Step By Step Guide to the FULL Twisted Rib Stitch


Step By Step Guide to the HALF Twisted Rib Stitch


Tips for the Twisted Rib Stitch
-
Working flat vs in the round. Just a quick reminder that when you’re working ribbing in the round you’ll want an even number of stitches so that when you come full circle the pattern continues seamlessly! If working flat, you may want to have an odd number of stitches so the pattern has the same look on both ends.
- Half of Full Twist?When deciding which variation to use, first determine if you want a reversible fabric. If the answer is yes, use the full twist rib stitch pattern. If you are less concerned about the sides matching, the half twist pattern is typically faster for most knitters when worked in the round because you’re only twisting the knit stitches. The half twist worked flat requires a bit more thought to ensure you’re twisting the correct stitches.
- Don’t be nervous! If you haven’t knit through the back loop or done much with twisted stitches, don’t let that deter you from trying this stitch pattern! It may be slower going at first, but the results will be worth it. It’s also a great opportunity to improve your ability to “read” your knitting and understand stitch construction. We have a feeling this will make you feel much more confident about your knitting as a whole!

You’ll use this stitch pattern if you are participating in the Temperance Shawl KAL this month, but the twisted rib can also be substituted for a traditional rib in many patterns. Test out this stitch on your next pair of socks, sweater hem or hat brim and let us know what you think!


