 Skip to Content
Go to Accessibility Statement
Skip to Content
Go to Accessibility Statement


Alternating Skeins

Do you love working with hand-dyed yarn? Have you ever had a noticeable color shift in your project when changing skeins? Strongly dislike the jog between your stripes when you're working in the round? We've compiled these tips, tricks and techniques to help address some of these challenges!
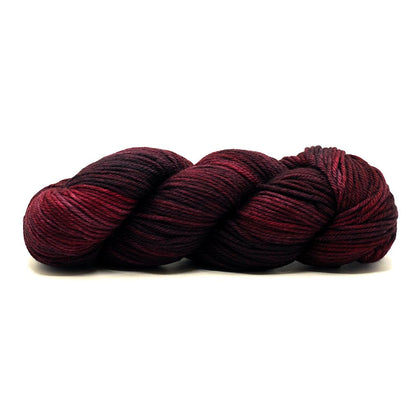
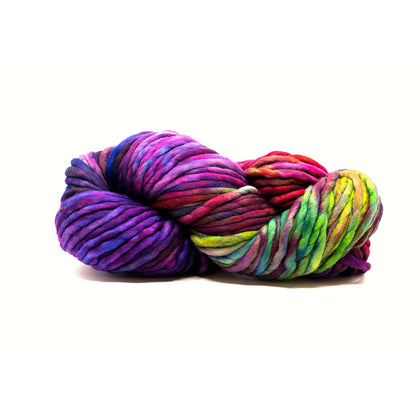
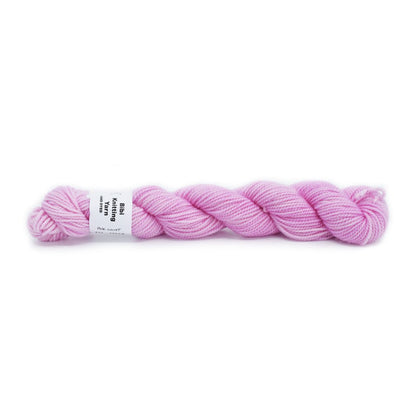
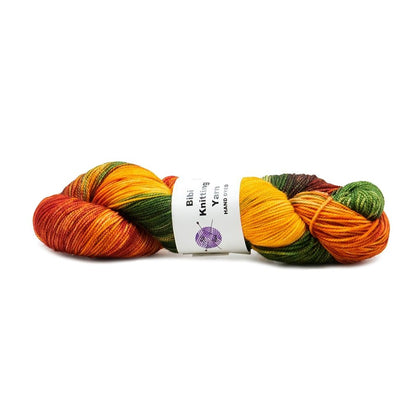
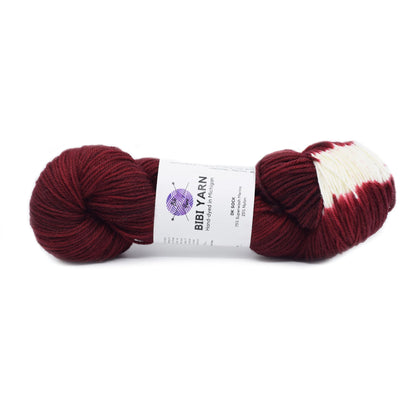
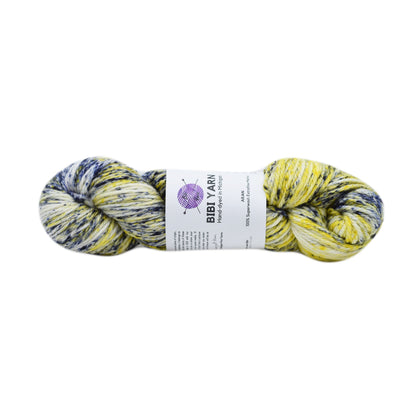
The beauty of hand-dyed yarns is that they are truly unique and one-of-a-kind. The challenge for multi-skein projects is that they are truly unique and one-of-a-kind! It can be difficult to avoid visible changes when moving from one skein to the next as one may be more saturated or have more of one color than the next. Variegated colors may begin to pool or collect stitches of a single color in one area, and alternating skeins can help reduce the likelihood of that as well.

⭐️ Two quick notes. ⭐️ Most of the photos shown here are knitting examples done in stockinette stitch, but the principles apply to crochet projects and various textured stitches as well! These photos also use high contrast colors to clearly demonstrate the techniques. Using two skeins of the same hand-dyed color will meld together instead of standing apart.
Carrying Up Your Yarn
The most straightforward method for alternating skeins is simply to work with two (or more) balls at the same time, switching between them at the beginning of a row.When working flat, you would work across the right side of the row with Color A, turn the work, complete the wrong side and then switch to Color B for the next right side row. You do not need to cut the yarn at each color change, but can instead twist your yarn once as you start the new color which locks it neatly in place.
When working in the round, you can work any number of rows between color changes but one and two round stripes are most common. This allows you to continue to carry your work without long floats on the wrong side that can cause bulk and puckering.
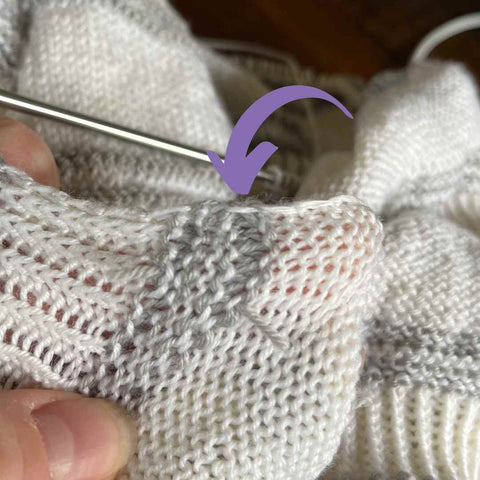
To alternate skeins in the round with this method, simply work your round with Skein A as usual, and when you get to your beginning stitch marker, drop Skein A, pick up Skein B and complete the next round.
This method works great for alternating skeins of the same hand-dyed colors like tonals and with variegated colors to avoid pooling. While it can be used for striping different colors, there can be a noticeable jog at the color change when working in the round.Fading
If you don't want to have to alternate skeins every row or throughout the whole project, we get it. It can be a lot of work and managing the yarn balls can feel unwieldy. Fading reduces the number of rows spent alternating, and while color blocking may still be visible to a trained eye, it reduces the visibility of the color change by blending the skeins together over a number of rows. (As opposed to a seemingly solid line between two skeins.)

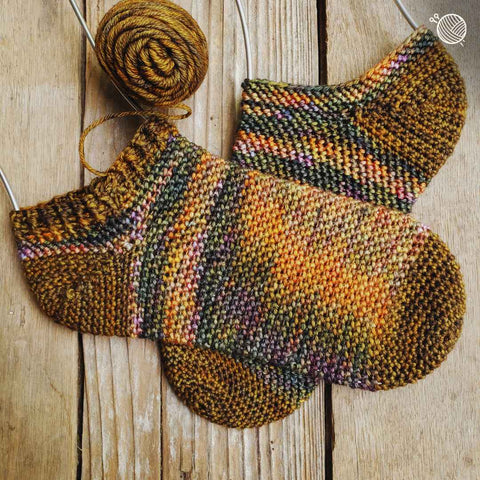
For fading, you'll start your project as normal and work through a majority of Skein A - let's call it 70% of the ball. At this point, attach Skein B and alternate with Skein A until it runs out. Continue to work with only Skein B until you have about 30% remaining. Attach Skein C and alternate with Skein B until it runs out. Continue with only Skein C and so on.
You can fade in your new color in any number of ways within any number of stitch patterns as shown in the photo of the pink sock toes above. Here are a couple of examples to get you thinking:
|
Fade Option 1: |
Fade Option 2: - 1 Row Color B - 4 Rows Color A - 1 Row Color B - 2 Rows Color A - 2 Rows Color B - 2 Rows Color A - 4 Rows Color B - 2 Rows Color A - 1 Row Color B - 1 Row Color A |
Essentially you're working a few rows of the new color with more of the original, then an equal split of new and original, and then moving to more of the new color and less of the original. Depending on the yarn, pattern and your personal preference, you may want a faster fade like Option 1 above or something more gradual such as Option 2.
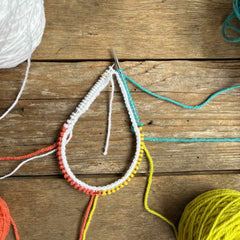
Helix Stitching
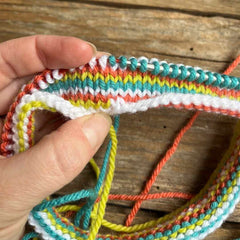
When working in the round, helix stitching can eliminate the jogs between one-row stripes and create a seamless fabric using any number of colors. The technique creates interlocking spirals and has a wrongside that is as neat and tidy as the right. A fantastic option for contrasting colors, this also works well for blending skeins of hand-dyed yarns to avoid the dreaded color blocking or color pooling.
We have a video tutorial on MFY+ that walks you through the basics of helix stitching using two colors (or balls of yarn) and four colors. You can also find some general tips and tricks here!
We hope after reading this that your days of inadvertent color blocking and undesired color pooling have come to an end! If you'd like more help on a particular project or an assist with one of the techniques we've outlined, you can always schedule time with our instructors for BYOP (Bring Your Own Project) or Quick Help sessions!
If you're looking for additional tools, below are a collection of resources related to alternating skeins that you may find helpful.
0 Comments
EMAIL LIST
Join Our Newsletter
Sign up for sale alerts, special offers, and more!

By clicking the ‘Subscribe’ button you acknowledge reading and accepting our Privacy and Cookies policy.
OTHER ARTICLES
-
 MFY+ is our YouTube channel that we consider an extension of our shop where you can find tools, inspiration and - of course - a few shenanigans! Our videos are grouped into playlists on YouTube if you want to watch through videos related to a broader topic or are just starting out and don't know what you don't know! This list is meant...
 -
 It is probably not shocking that the rise of Artificial Intelligence (AI) has created a stir in the technology world - especially in recent years. What may be more surprising, however, is that our very own fiber industry is running into challenges with AI too! Take a moment and think back to how long it took you to create your last project. A weekend...
 -
 Helix or helical stitching creates interlocking spirals of single-row stripes with no perceptible beginning and no jogs between stripes. The helix can be created with two or more colors and requires no twisting to keep the yarns connected and stitches even. Beyond beautiful, seamless stripes, this method of stitching is also a neat and tidy way to alternate skeins of hand-dyed yarn. The...


